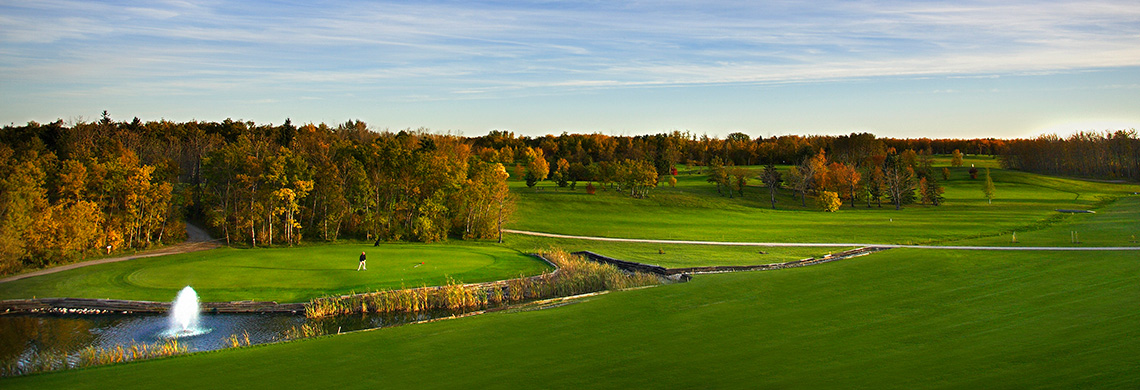
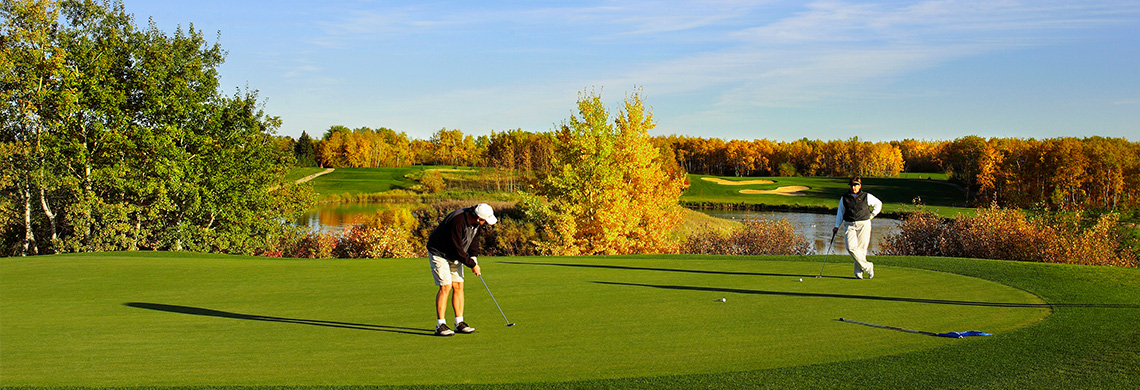
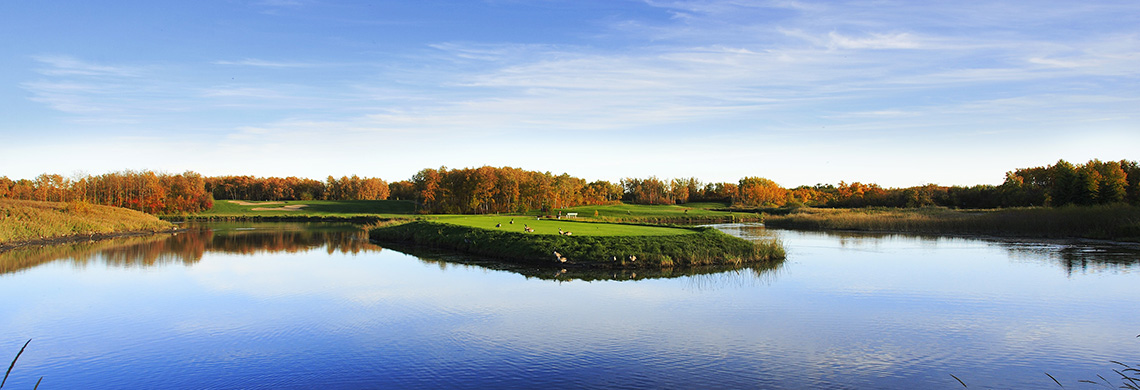

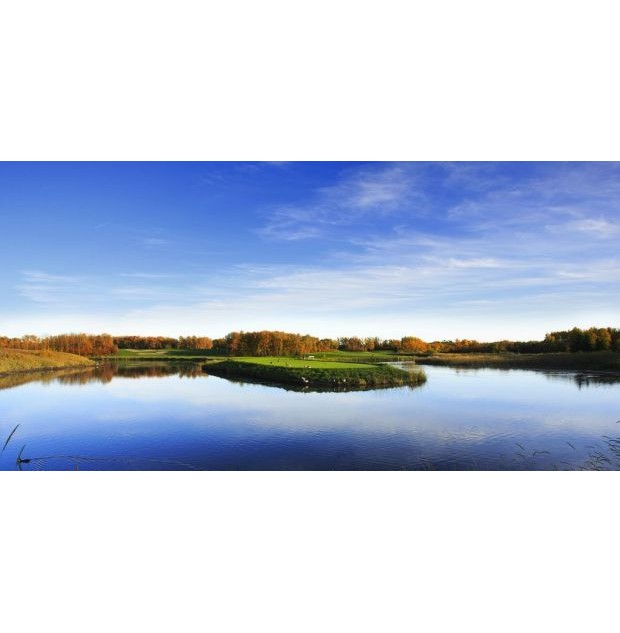
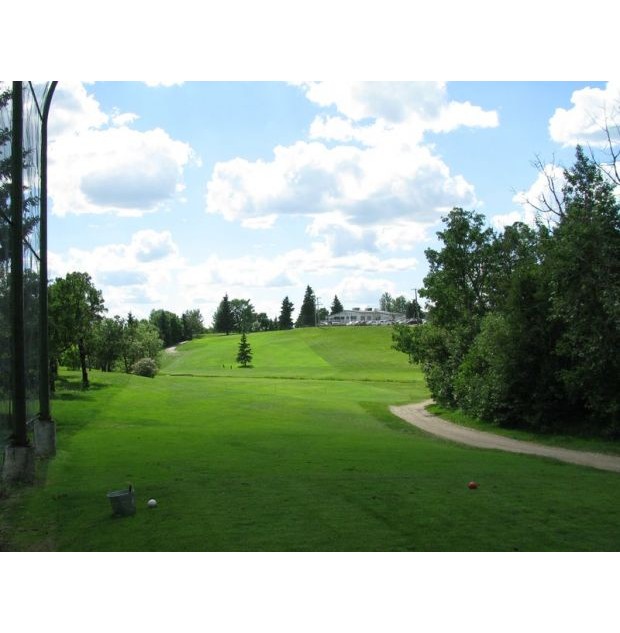
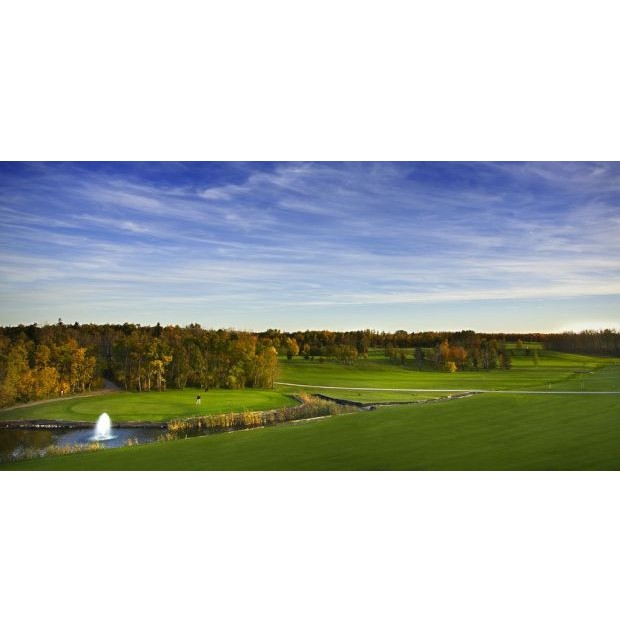
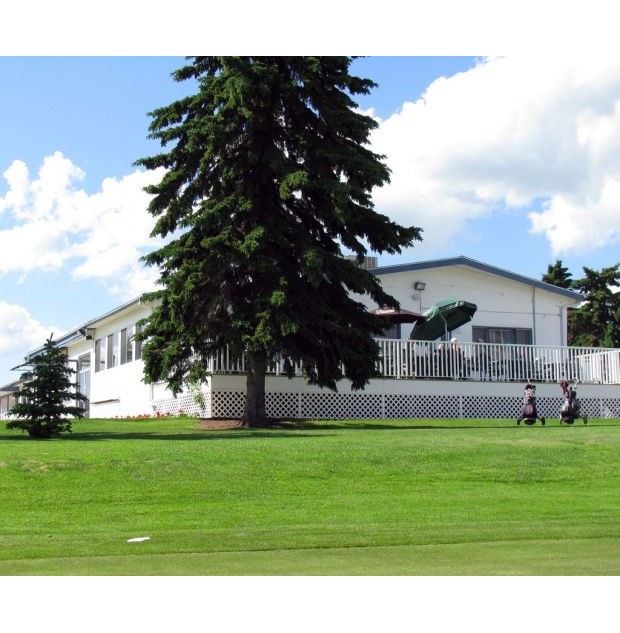
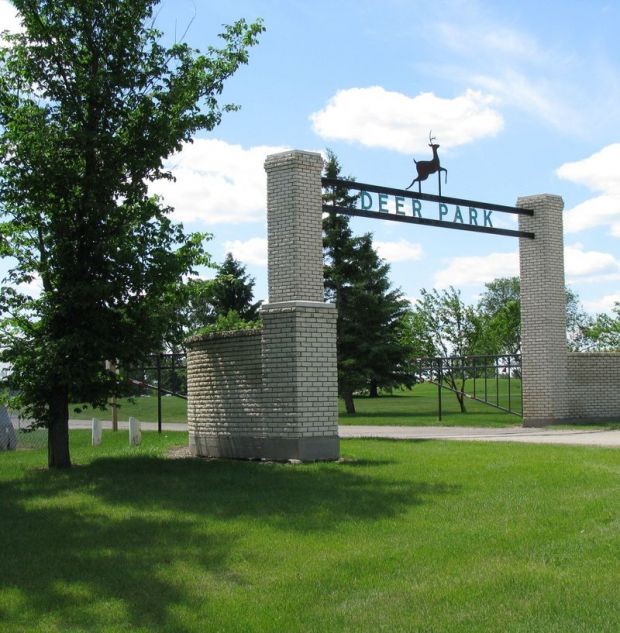
Course Photos


Virtual Tour
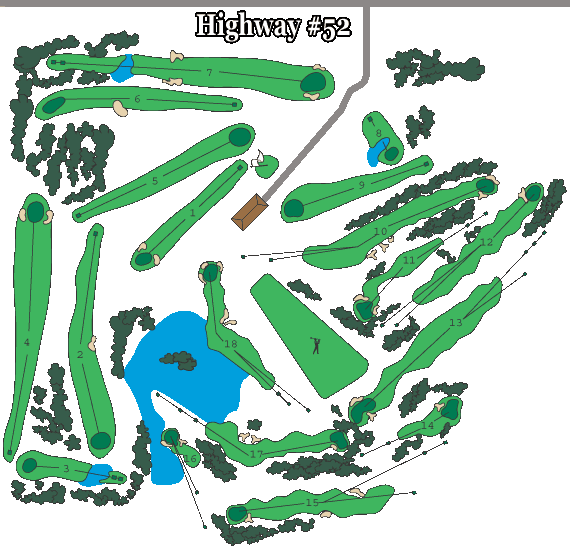
- Layout
- Hole 1
- Hole 2
- Hole 3
- Hole 4
- Hole 5
- Hole 6
- Hole 7
- Hole 8
- Hole 9
- Hole 10
- Hole 11
- Hole 12
- Hole 13
- Hole 14
- Hole 15
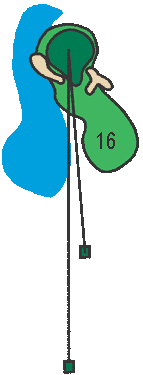
- Hole 16
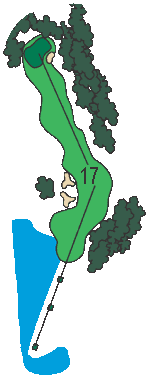
- Hole 17
- Hole 18
Hole #1 Par 4
Pro Tip
This hole is a recently lengthened, slight dogleg left, par four. It’s important to get your opening drive in the center of the fairway. Anything left will give you a difficult shot into the green because of the large overhanging trees. Also, be careful of the water hazard guarding the front of the green, which is not visible from 130 yards out.
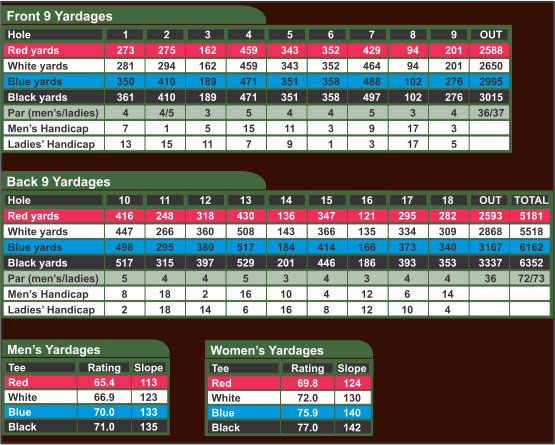
| Length | Yards |
| Red | 273 |
| White | 281 |
| Blue | 350 |
| Black | 361 |

Hole #2 Par 4/5
Pro Tip
A demanding Par 4 with accuracy off the tee essential. A good tee shot in the fairway will leave a mid to short iron approach shot to a small green.
| Length | Yards |
| Red | 275 |
| White | 294 |
| Blue | 410 |
| Black | 410 |

Hole #3 Par 3
Pro Tip
An uphill Par 3 which plays one to two clubs longer than the posted yardage.
| Length | Yards |
| Red | 162 |
| White | 162 |
| Blue | 189 |
| Black | 189 |

Hole #4 Par 5
Pro Tip
A Par 5 that is reachable in 2. Beware of out of bounds area on the left.
| Length | Yards |
| Red | 459 |
| White | 459 |
| Blue | 471 |
| Black | 471 |

Hole #5 Par 4
Pro Tip
A straight away Par 4. A driver is not always the club of choice from the tee. It’s best to be in the fairway. The green is severely sloped from back to front. Being long on approach shot will lead to a sure bogey.
| Length | Yards |
| Red | 343 |
| White | 343 |
| Blue | 351 |
| Black | 351 |

Hole #6 Par 4
Pro Tip
Iron off the tee to about the 150 marker. You must stay short and left of the tree in the fairway. It is a tough second shot with a low to mid iron. Do not over club on your approach shot.
| Length | Yards |
| Red | 352 |
| White | 352 |
| Blue | 358 |
| Black | 358 |

Hole #7 Par 5
Pro Tip
A straight away Par 5. You really need a straight drive so that you do not find the two bunkers on either side of the fairway. Aim your second shot at the power pole with the transformer box at the top.
| Length | Yards |
| Red | 429 |
| White | 464 |
| Blue | 488 |
| Black | 497 |

Hole #8 Par 3
Pro Tip
This is a great hole. The yardage plays shorter than what is posted. Don’t be long or short of the green.
| Length | Yards |
| Red | 94 |
| White | 94 |
| Blue | 102 |
| Black | 102 |

Hole #9 Par 4
Pro Tip
The second easiest Par 4 on the course. Aim your tee shot at the trees in the fairway. Try not to leave your approach above the hole. The green slopes severely from right to left. The big hitters could drive to the green.
| Length | Yards |
| Red | 201 |
| White | 201 |
| Blue | 276 |
| Black | 276 |

Hole #10 Par 5
Pro Tip
This is a great Par 5. A tee shot in the fairway will leave you an easy lay-up to try to make a par. Long hitters can hit their tee shot over the left fairway bunker and have a chance to reach the green in two shots.
| Length | Yards |
| Red | 416 |
| White | 447 |
| Blue | 498 |
| Black | 517 |

Hole #11 Par 4
Pro Tip
A Par 4 that must have a tee shot in the fairway. A mid to long iron is a good choice for the tee shot. Big hitters can drive the green and try to make an eagle. Beware! The driver must be straight. There are two front green-side bunkers.
| Length | Yards |
| Red | 248 |
| White | 266 |
| Blue | 295 |
| Black | 315 |

Hole #12 Par 4
Pro Tip
A dog leg left Par 4. The drive must be in the fairway to have a good chance at par. A good tee shot will leave a short to mid iron approach shot to a narrow well-guarded green.
| Length | Yards |
| Red | 318 |
| White | 360 |
| Blue | 380 |
| Black | 397 |

Hole #13 Par 5
Pro Tip
A straight away Par 5. This hole is difficult to reach in two. Play this hole for a par.
| Length | Yards |
| Red | 435 |
| White | 508 |
| Blue | 517 |
| Black | 529 |

Hole #14 Par 3
Pro Tip
Longest Par 3 on the golf course. Don’t miss the green by being too long. If you do it will be a guaranteed bogie or more.
| Length | Yards |
| Red | 136 |
| White | 143 |
| Blue | 184 |
| Black | 201 |

Hole #15 Par 4
Pro Tip
A great dog leg right Par 4. The first fairway bunker on the right is about a 225 yard carry from the back tee, the second tee is about 260. You must have a mid to long iron approach shot. Par on this hole is a very good score any day of the week.
| Length | Yards |
| Red | 347 |
| White | 366 |
| Blue | 414 |
| Black | 446 |

Hole #16 Par 3
Pro Tip
A scenic Par 3 with water around the left and back of the green. A miss to the right of the green is a safe shot.
| Length | Yards |
| Red | 121 |
| White | 135 |
| Blue | 166 |
| Black | 186 |
Hole #17 Par 4
Pro Tip
A challenging dog leg left. The safe shot is a 220 yard carry over left of the fairway bunkers from the back tee. Aim for the 150 yard past. Being too long is dangerous.
| Length | Yards |
| Red | 295 |
| White | 334 |
| Blue | 373 |
| Black | 393 |
Hole #18 Par 4
Pro Tip
A good finishing hole with out of bounds along the right side of the fairway and water hazard along the left side. The safe shot is straight down the middle toward the 150 yard post.
| Length | Yards |
| Red | 282 |
| White | 309 |
| Blue | 340 |
| Black | 353 |

Yardages